WSL2 and VPN

Windows Subsystem for Linux (WSL) is fantastic. It is probably the very best news that Linux geeks that are forced to run Windows due to corporate policy had ever received.

We were given Linux, while running Windows on the desktop without having to boot up a VM.

What it didn’t offer, was a full Linux kernel.

Along came WSL2, bringing with it full Linux kernel by way of a Hyper-V VM that is accessible from the same familiar terminal. But it does bring a glaring issue: It doesn’t play nicely over VPN.

The reason for this appears to primarily be in the way that WSL2 interfaces with the host system’s network stack. With WSL1, the Linux networking component shared the hardware with Windows. All of the network interfaces were mapped 1:1 with the same IP and MAC addresses. So when we connect to VPN, that connection is passed through as well.

Now with WSL2 running as a complete managed virtual machine, we use a Hyper-V virtual switch for the job. This virtual switch is set to Private by default, meaning that only the virtual machine(s) can use the virtual switch. Network traffic to the LAN is performed by a NAT layer, which I don’t fully understand the implementation of just yet. The subnet and IP range for this VM changes with every WSL reboot cycle as well.

There are loads of writeups on the web that talks about changing the virtual switch to an external network – That works for one or two use cases. Switching it to an Internal network helps with other issues. More articles talk about configuring the Windows Firewall to allow inbound traffic on the WSL virtual switch’s network adapter. This is useless for VPN connections though, because we’re wanting to talk OUT on the VPN connection so that we can use a WSL based distribution to do our actual jobs.

So the answer is as follows: Either set the Virtual Switch to External Network and point it to the VPN adapter, which disappears when we disconnect from the VPN….

OR

Go back to using WSL1. This is what I ended up doing.

And it’s really simple to do.

To set WSL1 as the default, run this command from the command prompt:
wsl –set-default-version 1

To set the WSL version for only a specific distro:
wsl –set-version <distro name> 1

I chose to set the WSL version for only the distro I was using primarily, which is Ubuntu. I like apt, sue me.
wsl –set-version ubuntu 1

The command took some time to complete while the distro was converted from a pure VM to the older way of doing things. And now, everything works the way I need it to. If you want to switch back to WSL2, the command to revert is just as simple. If I have to type that out here, you might as well just give up…

Pulse-Eight CEC Adapter and Ubuntu 18.04/Kodi v18

I have had the worst time getting my Pulse-Eight CEC adapter to work after upgrading from Ubuntu 16.04 to 18.04

At first, there were incompatibilities in libCEC, which are now baked into Kodi from version 18 onwards. But those matters were resolved with Kodi updates, yet my CEC adapter failed to initialise.

The fix, as it turns out, was to add my media server user to whichever group owns the CEC adapter.

So first, I needed to be sure that the device is recognised.

I ran the command dmesg | grep -i cec

media@media:/# dmesg | grep -i cec
[    1.864825] usb 1-3: Product: USB-CEC Adapter
[    2.172323] input: Pulse-Eight USB-CEC Adapter as
/devices/pci0000:00/0000:00:14.0/usb1/1-3/1-3:1.2/0003:2548:1002.0001/input/input3
[    2.173919] hid-generic 0003:2548:1002.0001: input,hidraw0: USB HID v1.10 Mouse
[Pulse-Eight USB-
CEC Adapter] on usb-0000:00:14.0-3/input2

Next I wanted to check that the adapter is showing up on USB as expected, by running lsusb

media@media:/# lsusb
Bus 002 Device 001: ID 1d6b:0003 Linux Foundation 3.0 root hub
Bus 001 Device 004: ID 400c:107a
Bus 001 Device 003: ID 2548:1002
Bus 001 Device 002: ID 05e3:0608 Genesys Logic, Inc. Hub
Bus 001 Device 001: ID 1d6b:0002 Linux Foundation 2.0 root hub

We can see that things are in place, so the device is healthy and reporting to the OS. Next, I checked the ownership with ls -l /dev/ttyACM0

media@media:/# ls -l /dev/ttyACM0
crw-rw—- 1 root dialout 166, 0 Apr  8 21:54 /dev/ttyACM0

As we can see, the group dialout is where we need to add our user into. My system uses the media user for most non-root activity.

To see the current group membership, enter the command groups while logged in as the user we wish to check

media@media:/$ groups
media adm cdrom sudo dip plugdev lpadmin sambashare

No dialout membership.

To fix this, I ran sudo usermod -a -G dialout media

Checking groups showed favourable results this time round:

media@media:/$ groups
media adm dialout cdrom sudo dip plugdev lpadmin sambashare

I rebooted the media host, and my Samsung TV remote was once again able to control Kodi.

Hope this helps someone!

Resetting the BIOS Admin Password on CloudGate Square/Sunchip CX-W8

Here in South Africa, the Sunchip CX-W8 mini PC is sold by a company called CloudGate as the CloudGate Square CG Desktop.

The integrated motherboard uses the WinBond 25q64fvsig which does have a reset pin, however on these devices the reset pin is disabled in hardware. Therefore, shorting out pin 7 to ground does absolutely nothing to clear the NVRAM, which is where the BIOS stores passwords and settings.

The BIOS in question is AMI’s Aptio V, a feature rich BIOS that is well suited to laptops and these integrated PCs. Trouble is, there is no BIOS backdoor password for it, and granular control like disabling Recovery mode keystrokes and such really made cracking this thing a pain in the behind. The BIOS also stores the password in a hash, which means we can’t read it. Our only hope is to potentially overwrite it.

And then something happened. I noticed that BIOS ReadOnly mode wasn’t enabled. This means I would be able to flash the ROM from inside the OS. These devices come preloaded with Windows 8, and mine have subsequently been upgraded to Windows 10. I can boot into Windows, so that’s one positive.

Let’s see how we can get rid of this BIOS password, shall we?

First, we head over to AMI’s website and get the Aptio V Firmware Update Utility.

Capture

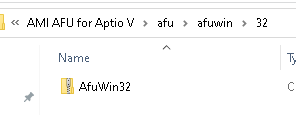
Once the tool is downloaded, open the ZIP file browse to Aptio_V_AMI_Firmware_Update_Utility.zip–>AMI AFU for Aptio V–>afu–>afuwin–>32 inside the ZIP.

In that directory, you’ll encounter a nested ZIP file, AfuWin32.zip

bios_02

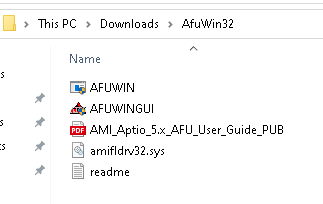
Open this and extract the contents to somewhere, I chose to drop it in the Downloads directory.

bios_03

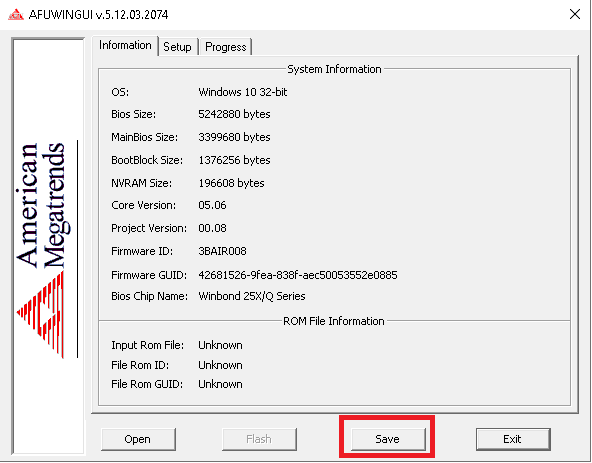
Next up, launch AFUWINGUI.exe

Once started, click on the Save button to dump the current BIOS to a file

bios_04

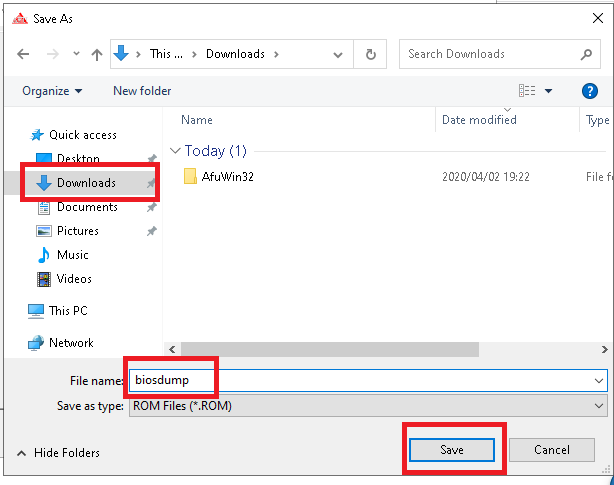
I saved the file to the Downloads folder

bios_05

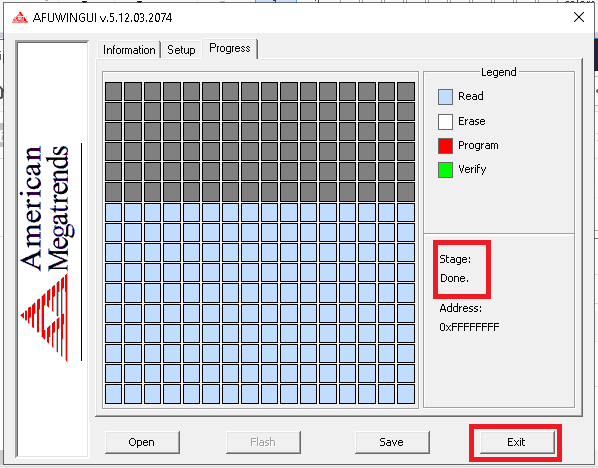
Once the dump is done, you can close the flash utility for now.

bios_06

Our next tool is called UEFITool, from LongSoft. Any version from A57 will do. Get it from https://github.com/LongSoft/UEFITool/releases/latest

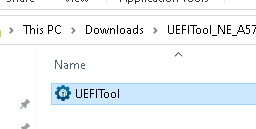
Once you’ve downloaded and extracted the tool, start it up.

bios_07

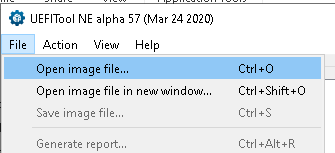
Once launched, click File –> Open image file

bios_08

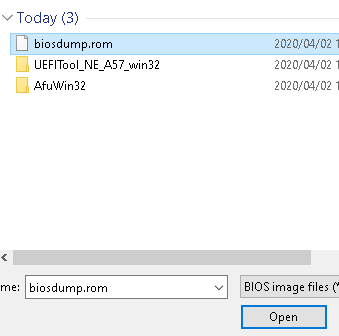
Browse to the BIOS dump that you took earlier and open it.

bios_09

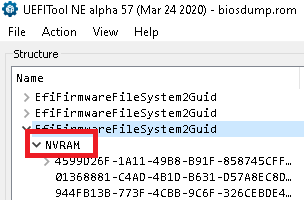
Expand UEFI image and find the first instance of EfiFirmwareFilesystem2Guid that has an NVRAM sub org.

bios_10

We are looking for a Variable GUID with the name C811FA38-42C8-4579-A9BB-60E94EDDFB34

If you don’t find it under this instance of EfiFirmwareFilesystem2Guid/NVRAM, move on to the next one.

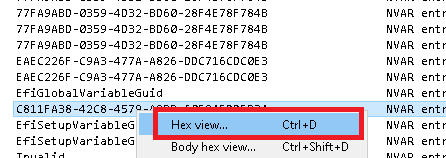
Once you have it, right-click on it and click on Hex View

bios_11

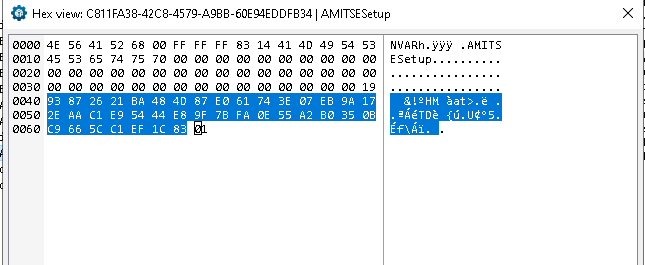
The BIOS Administrator password is stored from location 0040 up until the last digit that would read either 00 or 01. This last digit is the Quiet Boot setting.

bios_12

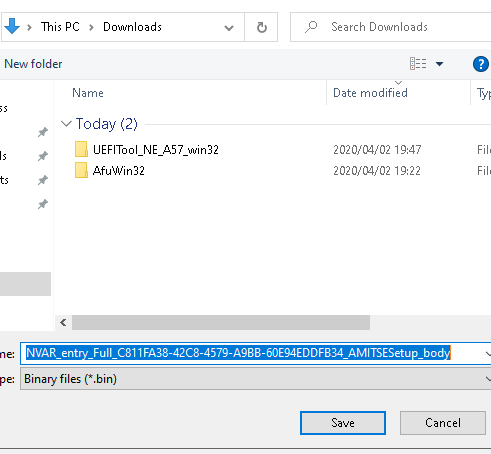
Close this window and extract the body by right-clicking on the Variable GUID and clicking on Extract Body

bios_13

Save the file somewhere for later use.

bios_14

We need one more piece of software. If you have a favourite Hex Editor, fire that up. I like HxD, obtain it here: https://mh-nexus.de/en/hxd/

Once you have your Hex Editor launched, open up the BIOS dump file that you created right in the beginning, as well as the more recent body extract from the Variable GUID.

From the body extract, highlight the text part of the password and copy it to the clipboard.

bios_15

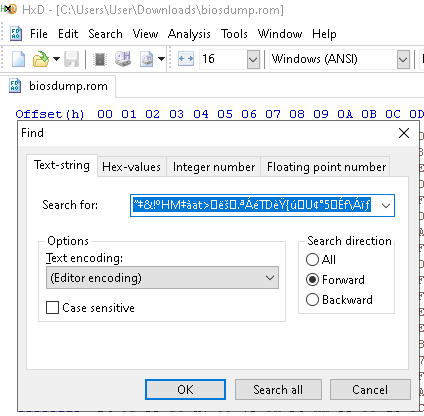
Close the body extract. Now we need to find this string in the BIOS dump file.

bios_16

Once the password is located, we need to zero out the entry.

bios_cap_01

Click on the first entry (for me it starts with 19) and just type 00 until the entire password is overwritten. Be VERY sure that the Overwrite status is set on the hex editor. If it is set to Insert, you will add values into the BIOS file, and that could be very bad.

bios_cap_02

bios_cap_03

Once you’ve replaced the password hash with zeroes, you can save the file. There is a chance that the password string occurs twice in the BIOS file, so make sure that you look for it a second time and overwrite that. In my case, the password occurred twice and overwriting only the first instance did not clear the BIOS Admin password. After clearing the second instance as well, the password was gone.

bios_19

Close the Hex Editor, and all we have left now is to flash the BIOS file back to the system.

Relaunch the AMI Flash Utility.

Click on the Open button and browse to the BIOS dump file that you just edited.

bios_20

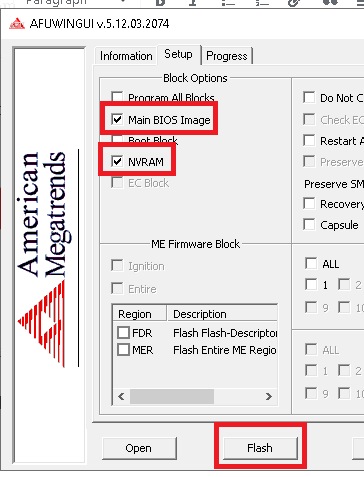
On the next window, place checkboxes in Main BIOS Image as well as NVRAM, then click on the FLASH button.

bios_21

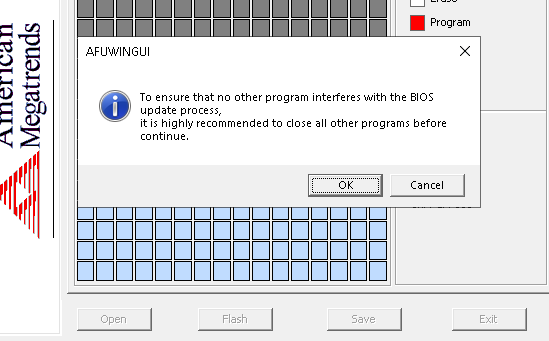
Click on OK to complete the flashing.

bios_22

Once the flash process is complete, close the tool and reboot.

bios_23

If all went smoothly, your BIOS Admin password will now be erased.

This will likely work with any system that uses Aptio V BIOS, as long as the Read Only bit isn’t set by the hardware developer.

Good luck!

LG F1407ADSP5

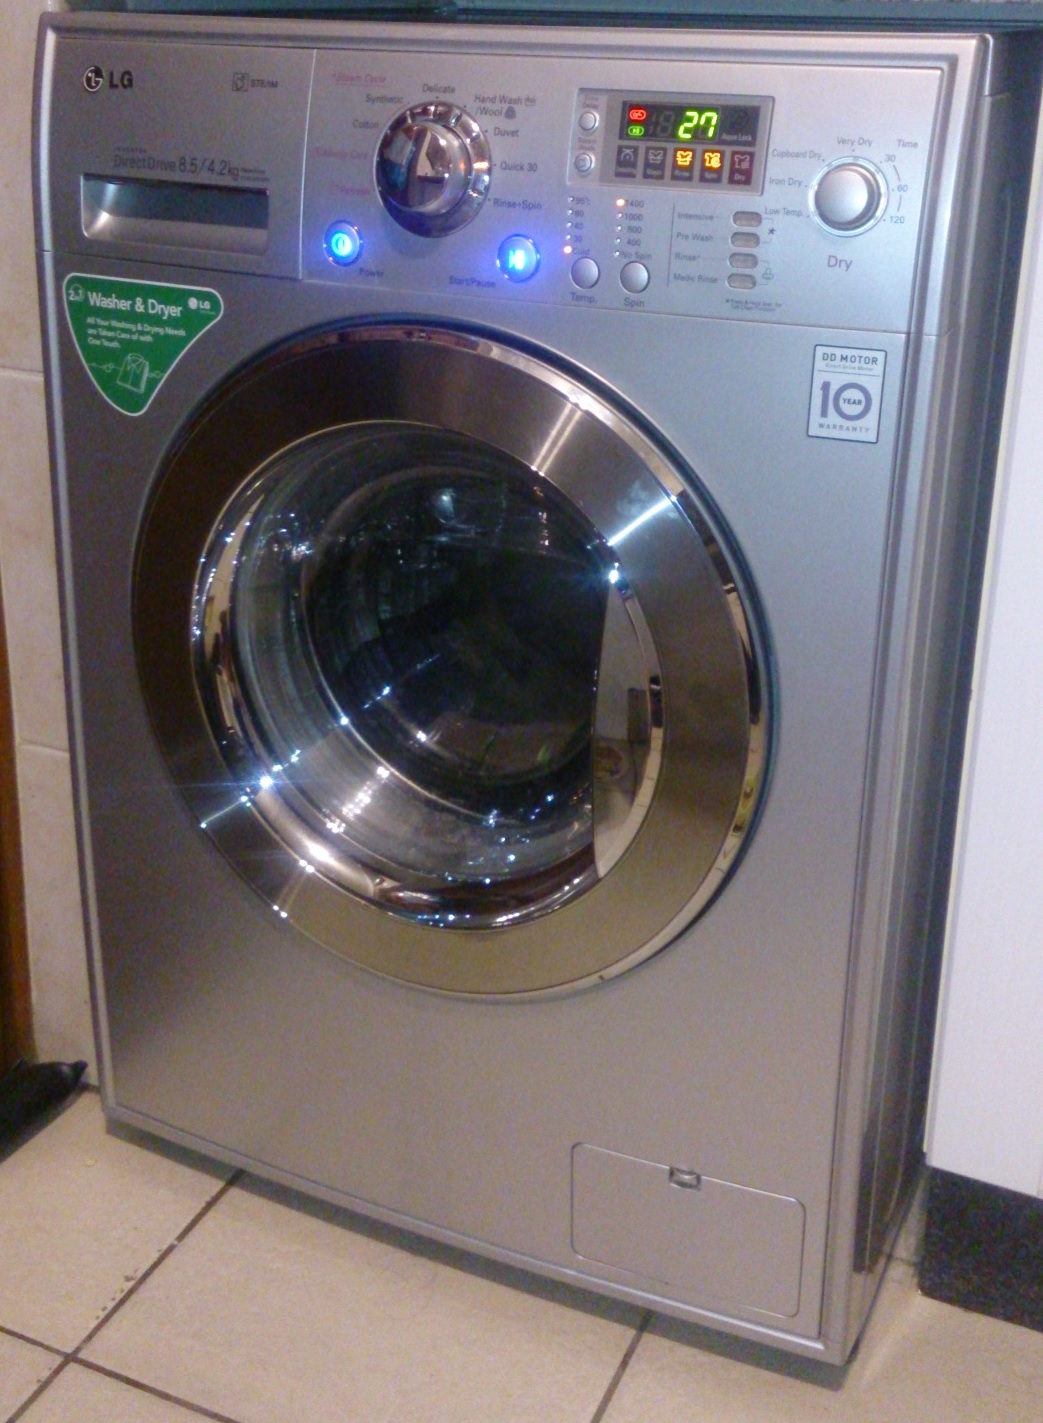
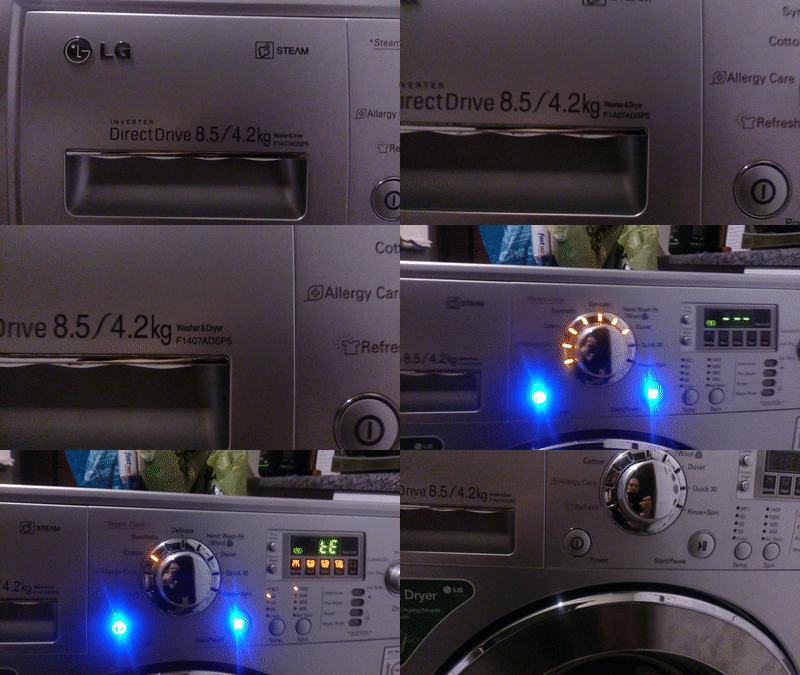
We have one of these horrid washing machines. The LG F1407ADSP5.

f1407adsp5.jpg

The wife purchased the thing on recommendation from a wealthy friend after she split with her ex and moved into her own place. The stupid thing doesn’t properly clean clothes unless you set it to Intensive. Back off on the amount of detergent or your garments will smell like soap. Ugh. When it was about 5 years old, things started failing on the machine. It is only the two of us and we wear items like trousers more than once between washes, which means it doesn’t work particularly hard. Now considering that the washer costs half as much as a good student car, I figured I’d fix it.

Except now I keep fixing it. Herewith some of the stuff I’ve battled with in the last 2 years, and the eventual solutions that I had found to them.

  1. The drum bearings are really weak. You need to strip the whole damned thing to replace these. Lots of degreaser will be required since the bearings likely would have started to leech grease. Identify bearing issues when the tub makes a horrid grinding sound, and the machine has issues getting to spin cycle because the drum no longer turns easily. Expect Error LE
  2. The sump pump makes a hell of a racket. This is pretty easy to solve. Switch to a laundry detergent that has an integrated fabric softener. Turns out the pump bushes run “dry” and start vibrating. By the way, there are two pumps, not just one, and the assembly is fark off expensive.
  3. The pump and sump pipe are pretty close to one another. The pump could vibrate against the pipe and cause holes to form, leaking water into the catch bin. Sump pipes are hard to find for this machine. Fix the pipe by washing it out really thoroughly and dumping Gorilla Glue into the pipe. When it foams up, press the foam down to form a nice elastic seal. Works a treat and real affordable. Remove the left hand side pump and rotate it 45 degrees. It will turn the pump far away from the hose and this issue won’t happen again. Error FE.
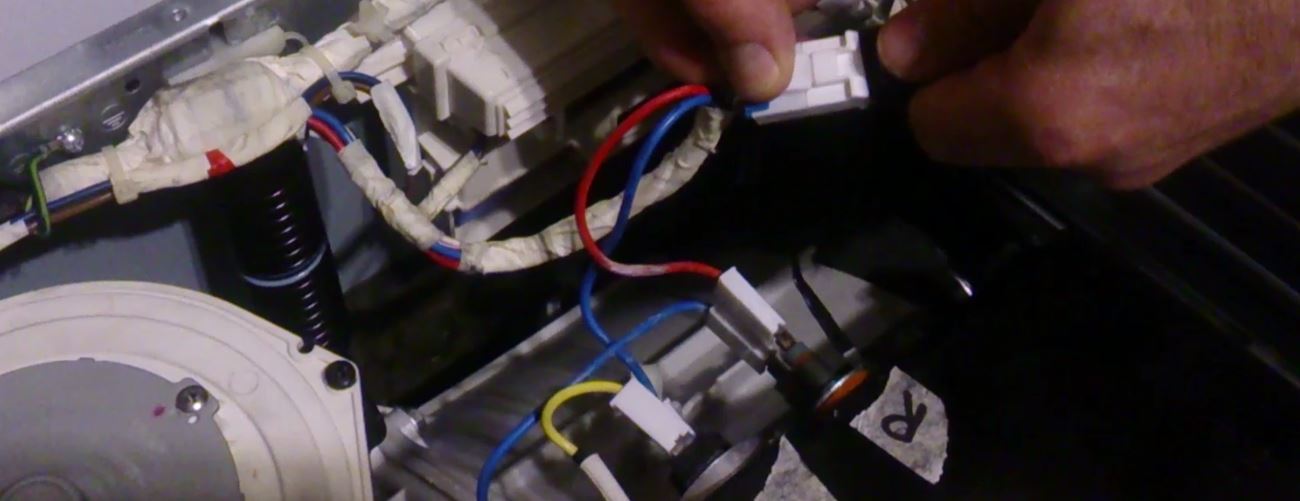
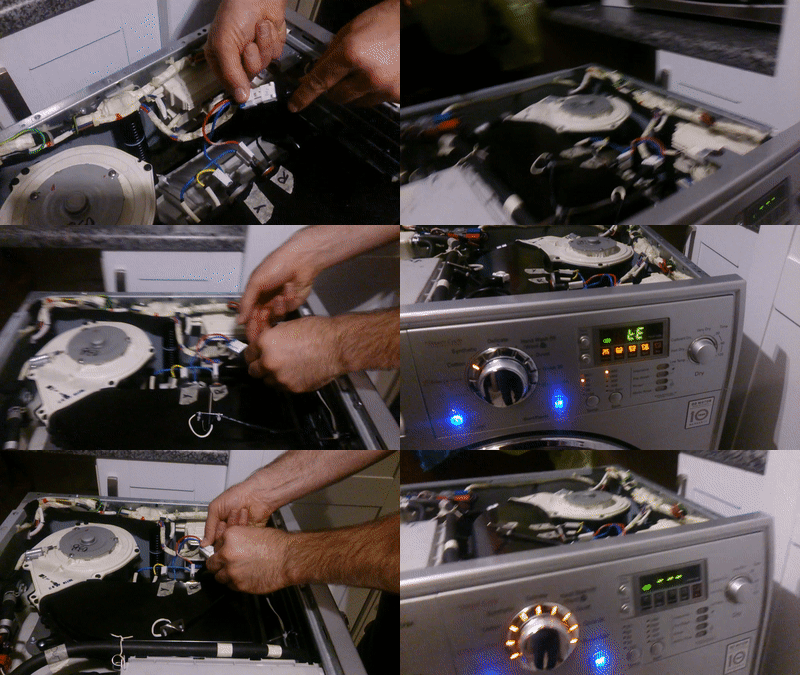
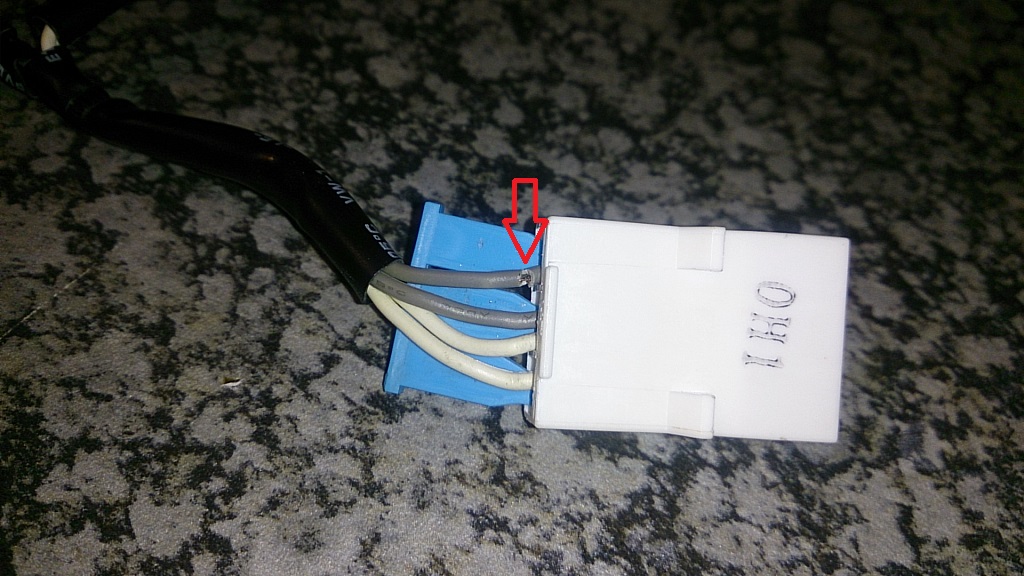
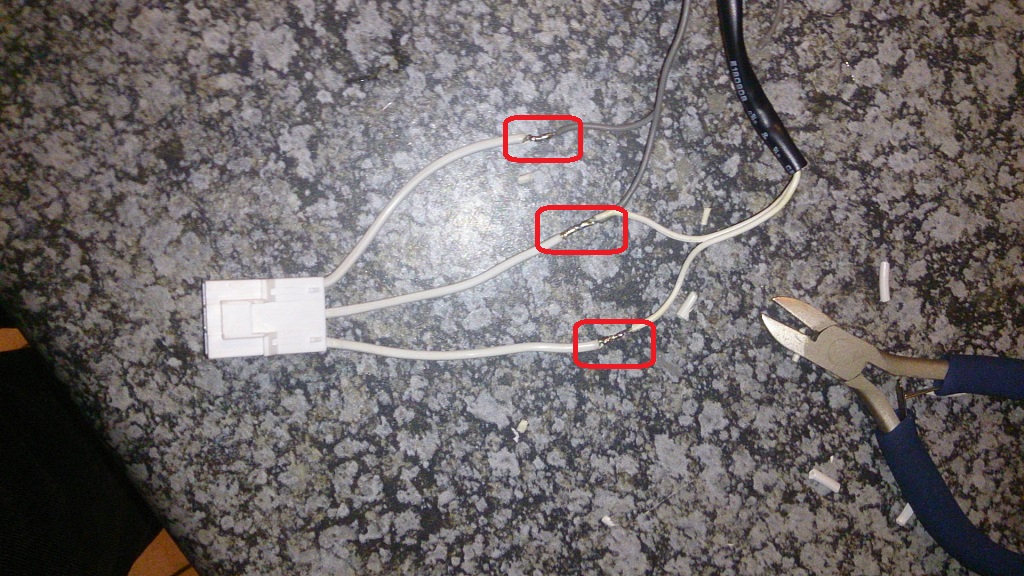
  4. Error tE is really shitty. All resources point to a faulty PTC sensor. On this machine, the sensor is integrated with the tub water heating element. Although it might be this unit, chances are very slim. The most likely cause is a wiring plug at the top of the machine. Remove the top cover to reveal the dryer assembly. There are two PTC sensors that connect to a 3 prong plug. This plug vibrates a whole lot during spin operations and the wires are pretty thin. The wires break off right on the output side of the plug.The error:
    te_error_01
    tE_errorThe offending plug:
    te_Error_02

    Proving my theory:
    tE_Error_02

    The fault:
    IMG_20180226_190905

    The Fix:
    IMG_20180226_194335

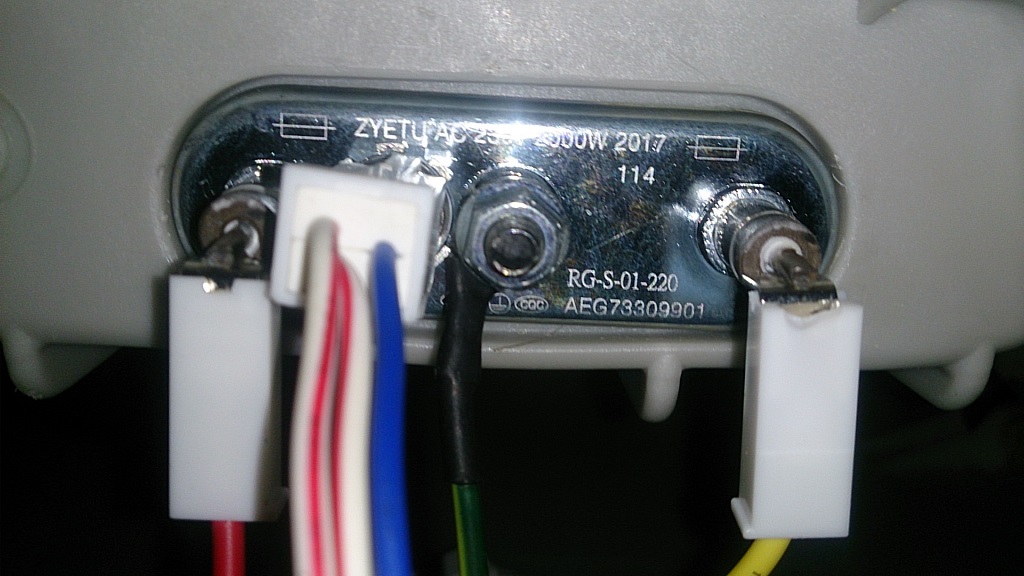
    In the event that you don’t have a faulty plug and need to replace the element/PTC sensor combo, your part number is AEG73309901. I replaced it first, believing this to be the cause of all my troubles, which led me to eventually finding the damaged cable as per above.
    IMG_20180226_203656

  5. Error DE. Close the door properly, or replace the door switch.
  6. Error IE. Water supply issue. Try cleaning the tiny filter doohicky at the water entry point on the machine or open the tap wider.
  7. Error UE. There’s probably a pair of jeans in the machine that is hogging all the water in the load. The machine drum has uneven weight distribution. Toss the clothes around in the drum and resume the wash cycle.

Lemoenaat Matla

A friend and I used to be stationed together at a banking client a few years back. They have this amazing coffee/juice bar, and we were joking around about a South Park episode one day where all things, places and persons on Marklar were referred to as Marklar.

So we ask for some Marklar, at which point the person behind the bar, Aubrie, heard “Matla”, which means “Power” in the majority of South Africa’s black languages. We then proceeded to point towards the different products and simply called it all Matla from there on.

Fast forward a bit and Aubrie’s son, Eric, joins his dad behind the bar. Now this guy had the most profoundly deep and bombastic voice. When we asked for Lemonade, we got “Oh, Lemoenaaaaattt Maaatttlaaaa!” as he serves us. It was fantastic.

So herewith a recipe for Lemoenaat Matla

Ingredients
1 cup white sugar
1 cup water
1 cup lemon juice
2 and 1/2 cold water (for dilution later)

Heat 1 cup water in a small pot together with the sugar. Bring to a simmer and stir until all of the sugar has dissolved. This is the light syrup.

I prefer using fresh lemons for the juice, the pulp makes the Lemoenaat more authentic. You’ll need to squeeze between 4 and 6 lemons to produce a cup of juice.

Pour the cold water into a pitcher/bottle, add the syrup and finally add the juice. Mix it up and there you go, Lemoenaat Matla.

Don’t add the juice to the hot syrup. The vitamin C (ascorbic acid) will cause the hot syrup to turn red. Interestingly, this is essentially how you make Belgian Candi Syrup (just far less lemon juice and more heat).